The Ultimate Guide to Snapping Windows Like a Pro
Last Updated:
Windows has TONS of handy features that most people never discover.
But there’s one that I consider absolutely essential, and if you’re not using it, you’re definitely missing out.
I’m talking about…SNAP. WINDOWS.
What is Snap Windows?
The snap windows feature is by far one of the most useful things built into Windows.
It lets you quickly arrange your open windows into a neat layout that fills the entire screen.
So instead of constantly fiddling with windows, you get perfectly aligned apps every time.
I use it constantly to:
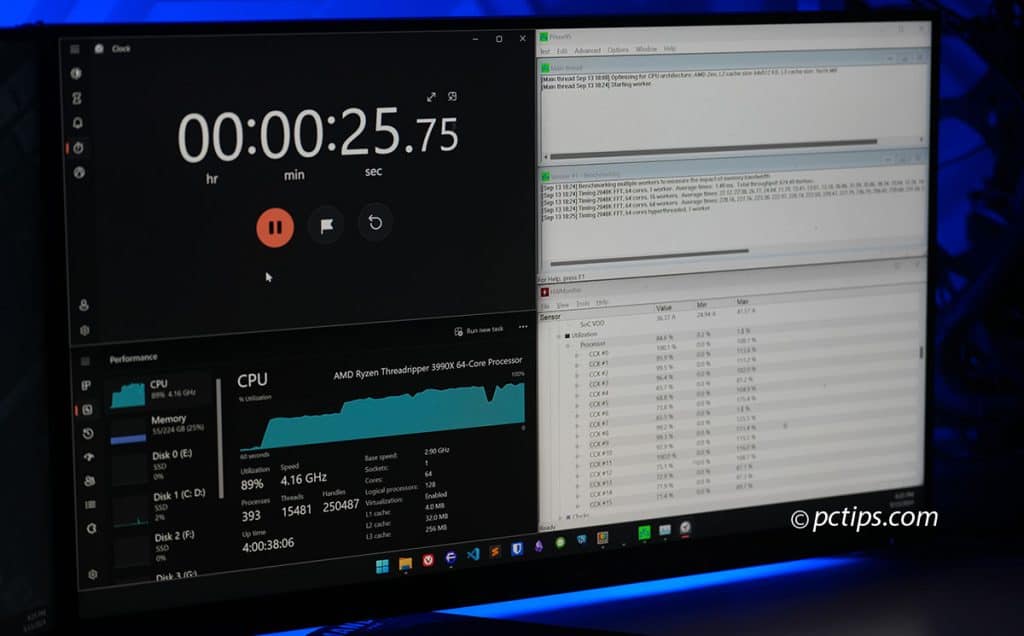
- Keep an eye on multiple apps at once
- Comparing two documents side-by-side
- Managing files across folders
- Watching a video while browsing the web
- Write code while referencing documentation
- And so much more…
No more frantically hunting through a stack of windows.
With snap, everything is right at your fingertips – organized and accessible.
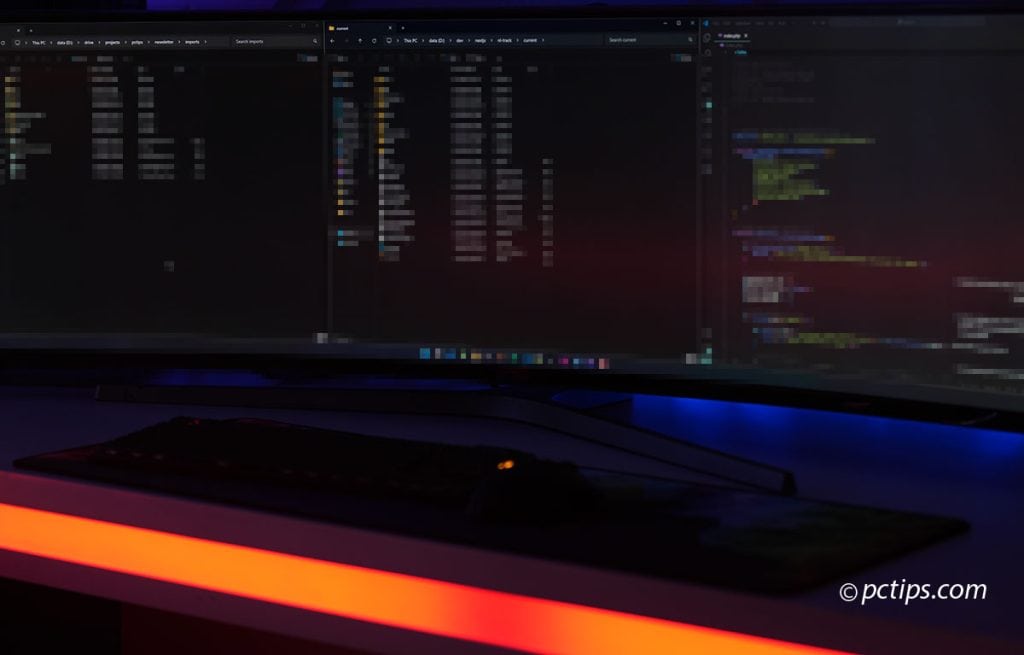
Snap Windows Side-by-Side
The most basic (and awesome) Snap trick is dragging windows to opposite sides of the screen to tile them vertically.
Grab any window by the title bar, drag it ALL the way to the left or right edge until a transparent overlay appears, then release.
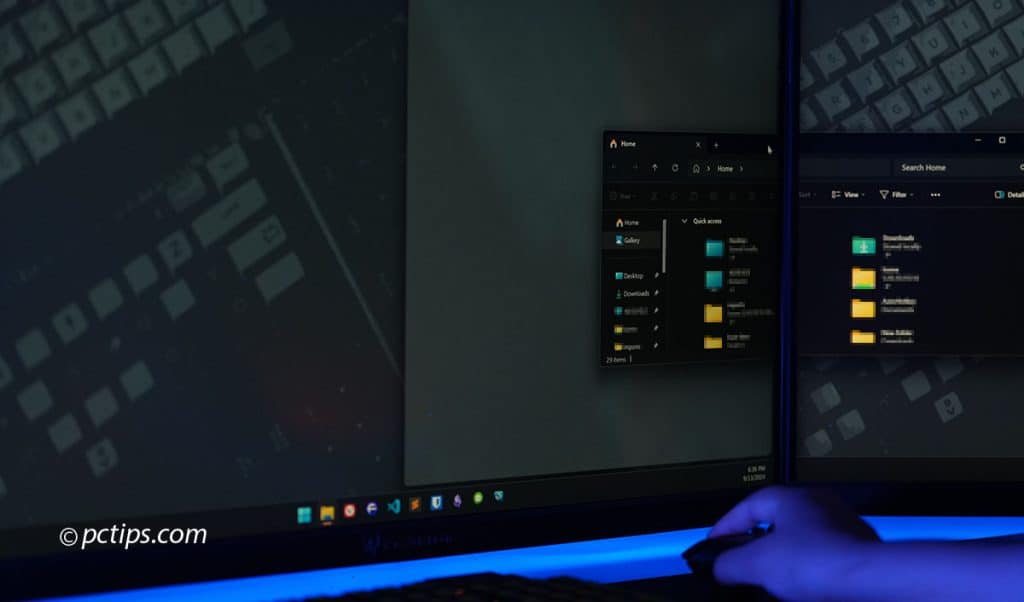
The window resizes to fill exactly half the screen.
Repeat with another window on the opposite side. Now you’ve got two windows side-by-side.
Once you have two windows snapped, you can easily adjust the divider between them.

Just hover over the dividing line until the resize cursor appears, then click and drag to resize.
You can also do this with the keyboard:

- Focus the window you want to snap
- Press
Win + Left Arrowto snap to the left - Focus another window
- Press
Win + Right Arrowto tile it on the right
This is perfect for comparing documents, managing files, researching while writing, or anytime you need to see two things at once.
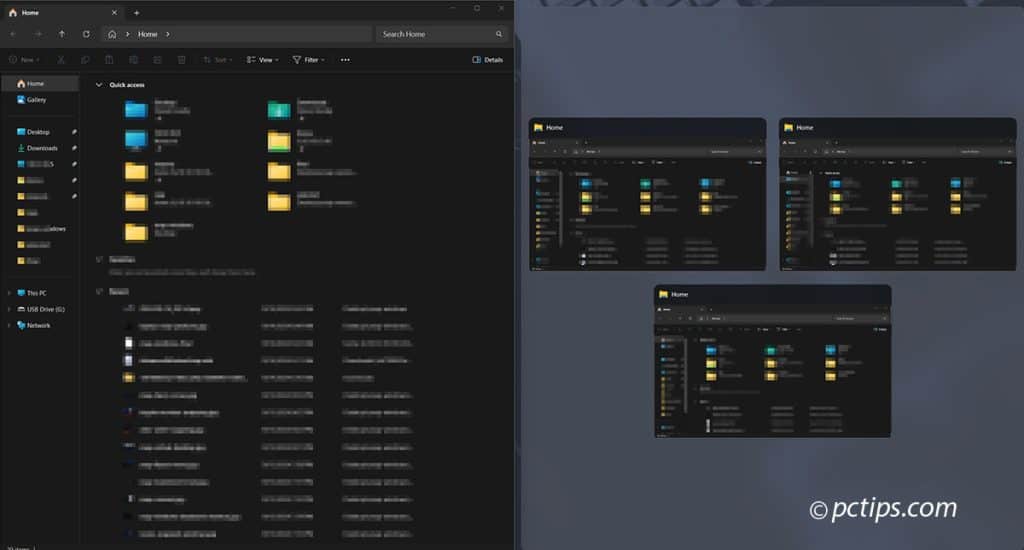
Corner Snap for Even More Layouts
You can snap windows to the CORNERS too for even more layout options.
Drag a window into any of the four corners until the snap overlay appears and you can tile four windows in a 2×2 grid.
Or use these keyboard shortcuts:
- Snap to Top-Left Corner: Press
Win + Left, thenWin + Up - Snap to Bottom-Left Corner: Press
Win + Left, thenWin + Down - Snap to Top-Right Corner: Press
Win + Right, thenWin + Up - Snap to Bottom-Right Corner: Press
Win + Right, thenWin + Down
This is perfect when you need to see 3 or 4 things simultaneously.
Snap Layouts
Okay, so everything I’ve covered so far applies to Windows 10.
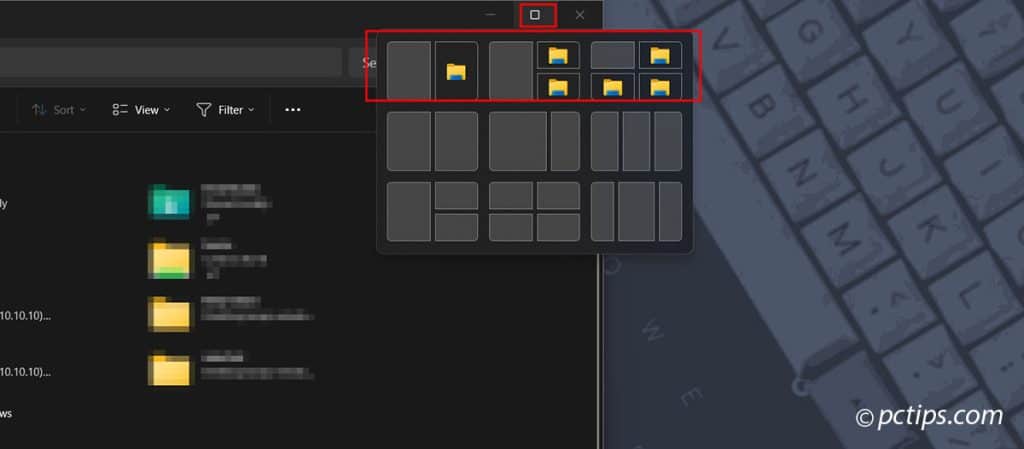
But Windows 11 took Snap to the NEXT LEVEL with Snap Layouts.
Just hover your mouse over a window’s maximize button.
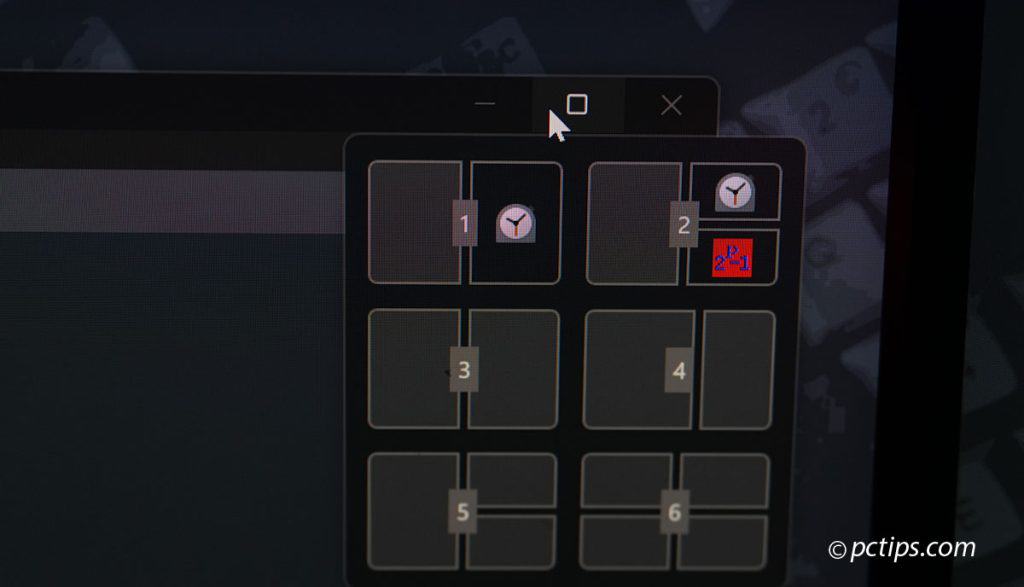
A small box pops up showing different layout options.
Click on the zone where you want to place the window and it will snap in to that spot.
Then choose another window to fill the remaining zone(s).
Rinse and repeat.
You can do this with the keyboard too and never touch the mouse:
- Focus the window you want to snap
- Press
Win + Zto open the Snap Layouts - Choose a layout by number
- Then select the zone to place the window using numbers
- Alternatively use arrow keys to pick the zone
- Repeat for the remaining windows
The number and type of available layouts can vary based on your screen resolution and display scaling.
On my 1440p monitor, I get 6 layouts at 150% scaling but 9 layouts at 125% or lower.
For EVEN MORE layouts (or to get this functionality on Windows 10) , use Microsoft’s PowerToys suite which includes a tool called FancyZones.
It lets you create your own window layouts beyond the default options.
Quickly Access Layouts with the Flyout Menu
In Windows 11 version 22H2 and later, you can access the layout menu I mentioned above in a different way:
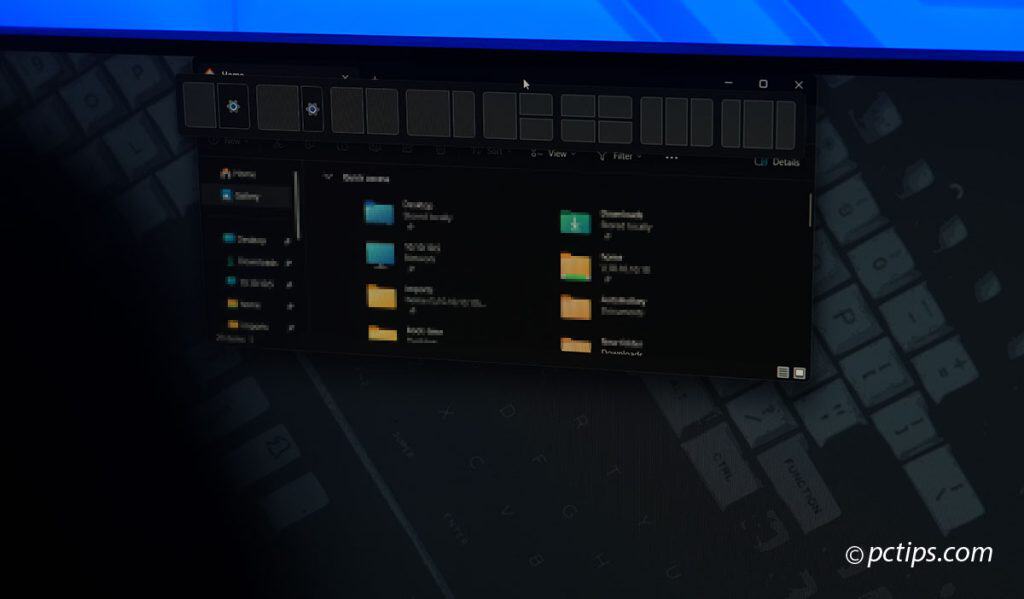
- Click and hold on any window’s title bar
- Start dragging the window
- You’ll see a rectangular outline “peek” appear
- Continue dragging to the top of the screen
- A flyout menu appears showing different layout options
- Release the window in any zone of the layout
If you don’t place the window and keep dragging to the very top edge, it will simply maximize the window.
Snap Assist
As you snap windows around, you may have noticed that Windows gives you some helpful suggestions for what to do with the remaining space.
This is called Snap Assist.
When you snap a window to one side of the screen, Snap Assist shows thumbnails of your other open windows on the opposite side.
Just click one of those thumbnails to snap it into the remaining space — no dragging required.
Personally, I like to disable Snap Assist in Settings so I can chop up my screen however I want without the suggestions distracting me.
But most people find it incredibly useful.
Give it a try and see what you prefer!
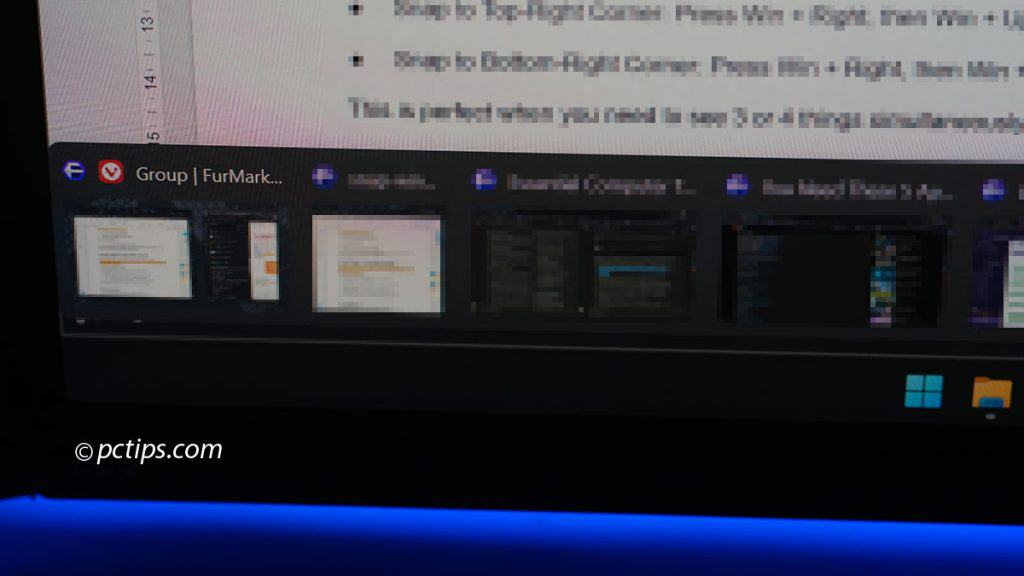
Snap Groups
Another insanely handy Windows 11 feature is Snap Groups.
Whenever you snap two or more windows together, Windows 11 will automatically create a group for them.
Grouped windows appear as a single thumbnail in the taskbar or in Task View (Windows key + Tab).
I find this incredibly useful for multitasking.
Let’s say I snap two windows for a writing project, then ALT+TAB to my email.
The two snapped windows collapse into a group on the taskbar.
When I’m ready to resume writing, I just click the group and my windows pop right back up, exactly as I left them.
Snap Across Virtual Desktops
Snap layouts are specific to each virtual desktop and don’t affect your other desktops.
That means you can have totally different window setups on each one!
This is killer for keeping separate workspaces for specific tasks, each with its ideal window arrangement.
Code on one, design on another, communicate on a third, each laid out just how you like.
The snap layouts on each desktop are retained, so you can pick up right where left off.
And you can easily move windows between desktops too.
Open Task View and drag and drop windows from one desktop to another.
Or right-click a window in the task view and use the “Move group to” menu
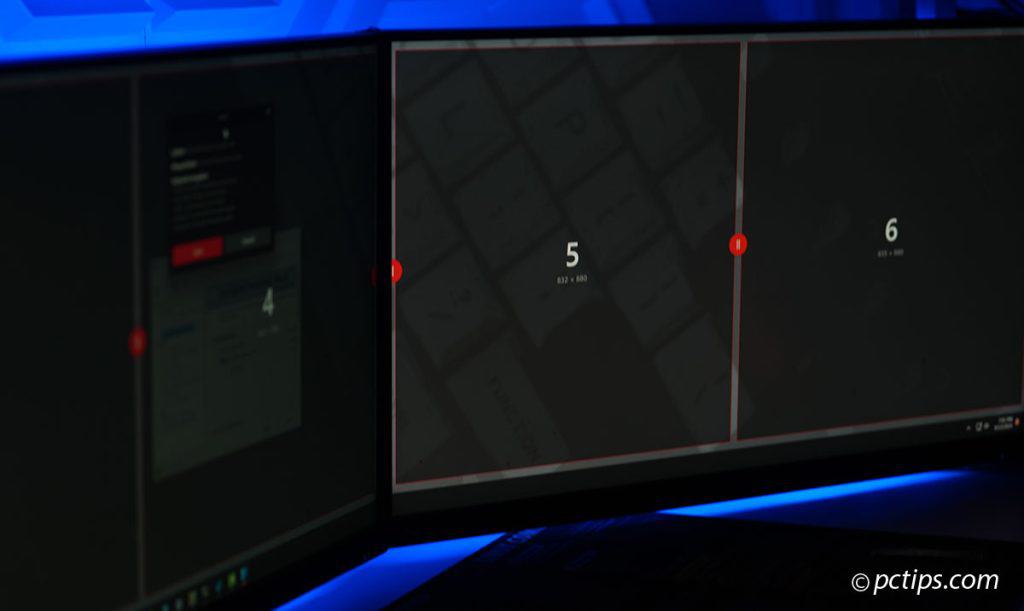
Get The Most Out of Multiple Monitors
Snapping makes multi-monitor setups even MORE powerful!
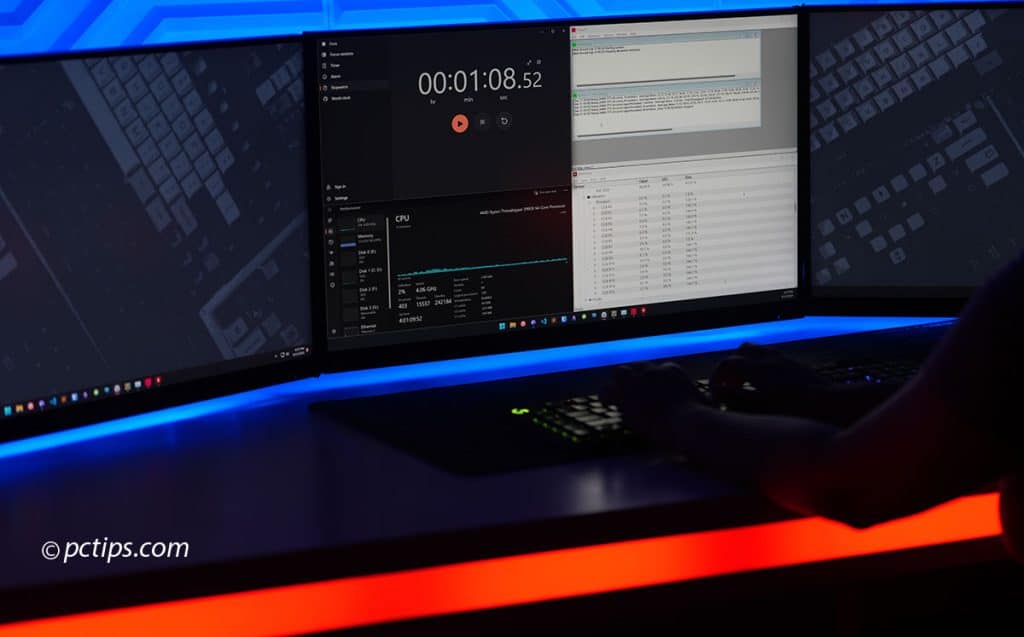
Each display has its own independent snap layouts, so you can have different window arrangements on every screen.
On my three 1440p monitors, the default snap options let me slot up to 12 windows perfectly aligned (with display scaling set to 125%).
I prefer 150% scaling for better text clarity, so I use FancyZones to create my ideal layouts
Hover over a window’s maximize button.
Whichever screen the button is on, that’s where the snap layout will appear.
You can also drag windows between monitors to snap them on another screen.
Or use these handy keyboard shortcuts:
- Snap to left screen:
Win Key + Shift + Left Arrow - Snap to right screen:
Wind Key + Shift + Right Arrow
Snapping on Ultrawide Monitors
Snapping is extra-awesome on ultrawide monitors.
The super-wide aspect ratio provides room for even more zones compared to regular screens.
Most 49” 3440*1080 ultra-wides I’ve tested have native options to snap 3 windows side-by-side.
But with FancyZones you can push it even further to 4, 5, or more windows.
On my 49” Samsung CHG90 monitor I can comfortably snap 3 windows side-by-side and use it like 3 monitors glued together into one epic, bezel-free display.
Advanced Customization
I’ve mentioned FancyZones a few times – it’s an awesome utility that’s part of Microsoft’s PowerToys.
It allows you can create completely custom layouts, controlling the number of zones, their size, position and spacing.
I’ve been using FancyZones since the Windows 10 days when it was the only way to get a decent variety of layout options.
On my main PC, I combine all three displays into a single 7680×1440 surface using Nvidia Surround.
Then I use FancyZones to create a custom 6-zone layout that spans all three monitors.
Another great PowerToy is the Keyboard Manager.
It lets you re-map any system shortcut.
So if you want different key combos for the Snap shortcuts, you can change them to whatever you like.
I’ve got my most used snap layouts mapped to the numpad.
And if you really want to take it further, check out AutoHotKey.
It’s a scripting language for Windows that lets you automate and customize everything – snapping, keyboard shortcuts, mouse gestures, you name it.
Creating a Custom Layout
Here’s how to create your own custom snap layouts with FancyZones:
- Download and install Microsoft PowerToys from https://github.com/microsoft/PowerToys/releases
- Open PowerToys and navigate to the FancyZones settings (
Win + Shift + `) - Click “Launch layout editor“
- In the layout editor, click “Create new layout“
- Give your layout a name and choose “grid” layout template.
- Configure the layout settings to your liking (e.g., number of zones, spacing, etc.)
- Click to split a zone ( hold shift to alternative direction )
- Drag borders to resize zones
- Click & hold a zone’s dragger’s handle, then hit Delete to remove it
- Click “Save“
- Your new custom layout will appear in the “Custom” section
- Fine-tune spacing by right-clicking and selecting “Edit”
- When done, select the layout you want to use and exit the editor
Now hold the Shift key while dragging the window – the zones overlay will appear and you can drop the window into your desired zone.
Touchpad Gestures
If you’re on a laptop with a precision touchpad, you can snap windows using multi-finger gestures.
To configure: Go to Settings > Bluetooth & Devices > Touchpad > Advanced gestures.
In my experience this works on most newer laptops from major brands like Dell, HP, Lenovo, etc.
On my Asus M16 laptop, I found this setup to be effective
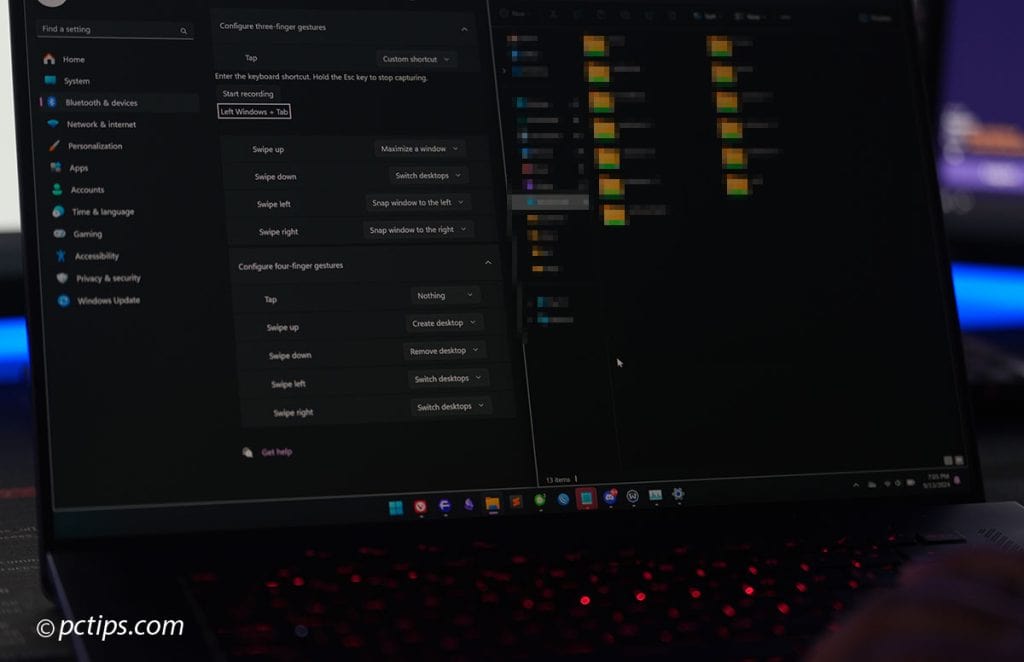
- 3 finger swipe left: Snap current window to the left
- 3 finger swipe right: Snap current window to the right
- 3 finger swipe up: Maximize
Play with the settings to find a combo that works for you!
Customize Snap Settings
The default snap settings work great for most people, but Windows does provide a few options to tweak the behavior.
Head to Settings > System > Multitasking to adjust how Snap behaves.
You can:
- Toggle Snap windows on/off entirely
- Show/hide snap layouts on hover or drag
- Turn on/off Snap Assist window suggestions
- Show/hide snapped windows in taskbar & Alt+Tab
- Snap on drag to edge or just near edge
Then if you find certain behaviors annoying or if they interfere with other apps, you can selectively disable them.
For instance, I have Snap Assist disabled on my PC to prevent the distracting thumbnails.
Suggested Reading: 30 Windows Settings to Disable Right Now
The Complete Snap Keyboard Shortcut Cheatsheet
Here’s a complete list of all the keyboard shortcuts for snapping windows :
Win + Left Arrow: Snap window leftWin + Right Arrow: Snap window rightWin + Left Arrow, thenWin + Up Arrow: Snap window to top leftWin + Right Arrow, thenWin + Up Arrow: Snap window to top rightWin + Left Arrow, thenWin + Down Arrow: Snap window to bottom leftWin + Right Arrow, thenWin + Down Arrow: Snap window to bottom rightWin + Z: Open snap layouts menu (Windows 11)Win + Shift + Left/Right Arrow: Move window to adjacent monitor3/4-finger swipeleft/right: Snap to left/rightWin + Shift + `(backtick/tilde): Open FancyZones editorShift + Drag: Activate FancyZones overlay
I hope this guide has shown you how insanely useful and flexible window snapping can be on Windows.
Did I miss any crucial tips or tricks?
Let me know in the comments!
If you found this guide helpful, I’d appreciate if you could share it with your networks.
I've been using the snap feature for quite some time, and absolutely love it!
Excellent tips! #You have really helped me improve my use of windows. Thank you!!!!