Fastest Way to Create a Bootable USB
Last Updated:
If you work with bootable USB drives even occasionally, you need Rufus in your toolkit.
Trust me.
This free, open-source utility has been my go-to for years for creating bootable USB flash drives.
It’s never let me down.
Whether I’m flashing a BIOS, updating firmware, or creating USB installation media from ISOs, Rufus is fast, reliable, and just plain works.
So let me walk you through everything you need to know to get started with this awesome little tool.
Bookmark this guide and let’s dive in!
What is Rufus and Why Use It?
At its core, Rufus is a utility used to create bootable USB flash drives, primarily for installing operating systems.
It’s a free, open-source app for Windows that has an impressive list of features:
- Supports a massive array of ISOs, including Windows, Linux, and more
- Super fast – one of the quickest ISO -> USB tools available
- Frequent updates with bug fixes and new features (a new release every 2-4 months on average)
- Tiny portable app, less than 2MB (Also Read: 30 Must-Have Portable Apps for Your USB Drive)
- Packs powerful features like BIOS/UEFI support, bad block checks, and more
- It’s hugely popular, having been downloaded over 300 million times and used by over 200 million people! (Source)
I’ve found Rufus useful in so many situations – from doing a clean Windows install, to trying out the latest Linux distros, or flashing a BIOS update.
Downloading Rufus: Where to Get the Latest Version
Rufus is actively maintained on GitHub by its creator Pete Batard (a.k.a. pbatard).
You’ve got two official download options:
Avoid downloading Rufus from any other source.
Stick with the official links above for a smooth, malware-free experience.
Rufus is a portable app, meaning you can run it from any folder or USB stick without “installing” it.
Just double-click the .exe to fire it up.
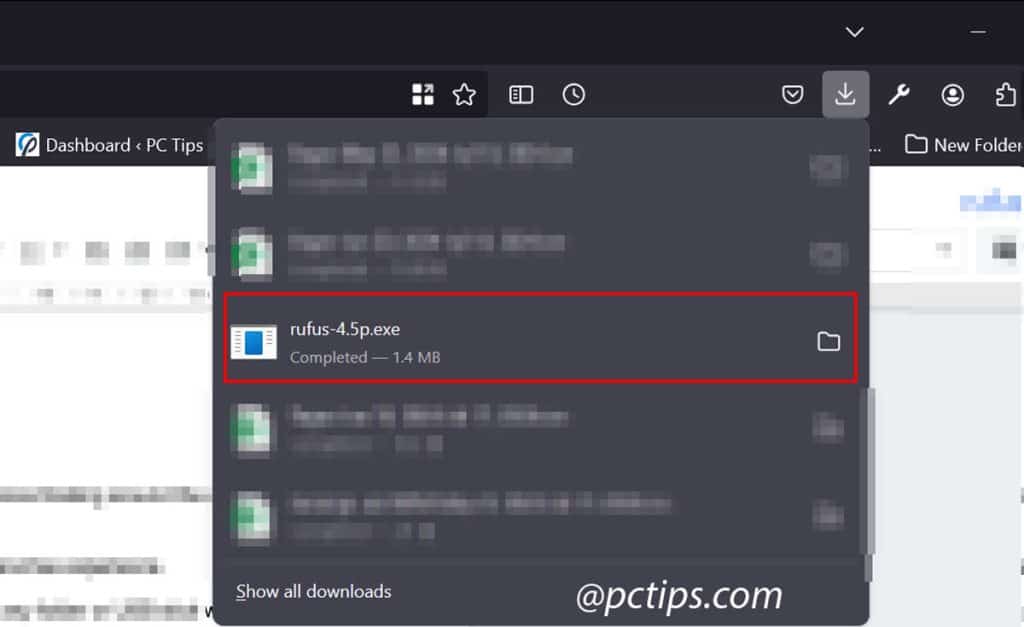
If you like, you can also grab the installable version which sets up shortcuts and uninstall info.
Got it downloaded? Great, let’s keep rolling.
Preparing Your USB Drive
Before you flash that ISO to your USB, you’ll need to prep the drive.
Rufus does make this nearly painless, but there are a few things to consider:
- Capacity – Select a drive with at least enough capacity for the ISO. For Windows 11, you’ll generally want 8GB or larger. Most Linux distros can squeeze onto a 4GB drive.
- Speed – Opt for USB 3.0+ for best results (especially if you’ll be installing Windows or running a live Linux environment). Avoid older USB 2.0 drives if you can.
- Compatibility – Some older machines don’t play nice with USB 3.0+. Grab a USB 2.0 drive to be safe if you’re installing on ancient hardware.
Based on my own testing, here’s what to expect for ISO flashing speed by drive type:
- USB 2.0 drive (random): 38m 23s
- USB 3.0 drive (random): 13m 30s
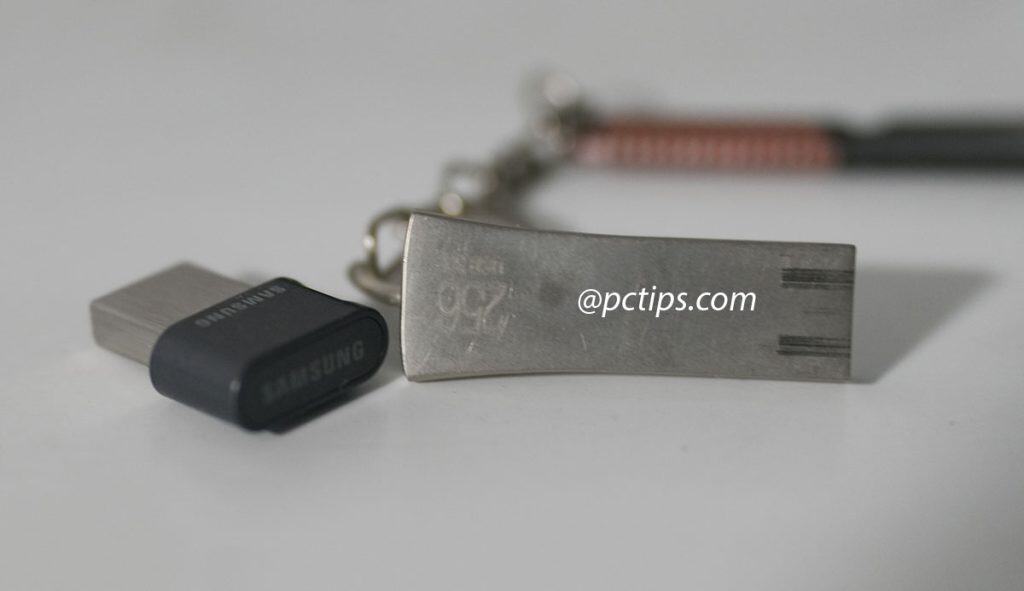
- USB 3.2 drive (TEAMGROUP C175 ): 8m 31s
- USB 3.2 drive (SAMSUNG FIT Plus) : 2m 27s
If you plan on making lots of bootable USBs, I’d suggest grabbing a pack of these TEAMGROUP C175 64GB USB 3.2 drives.
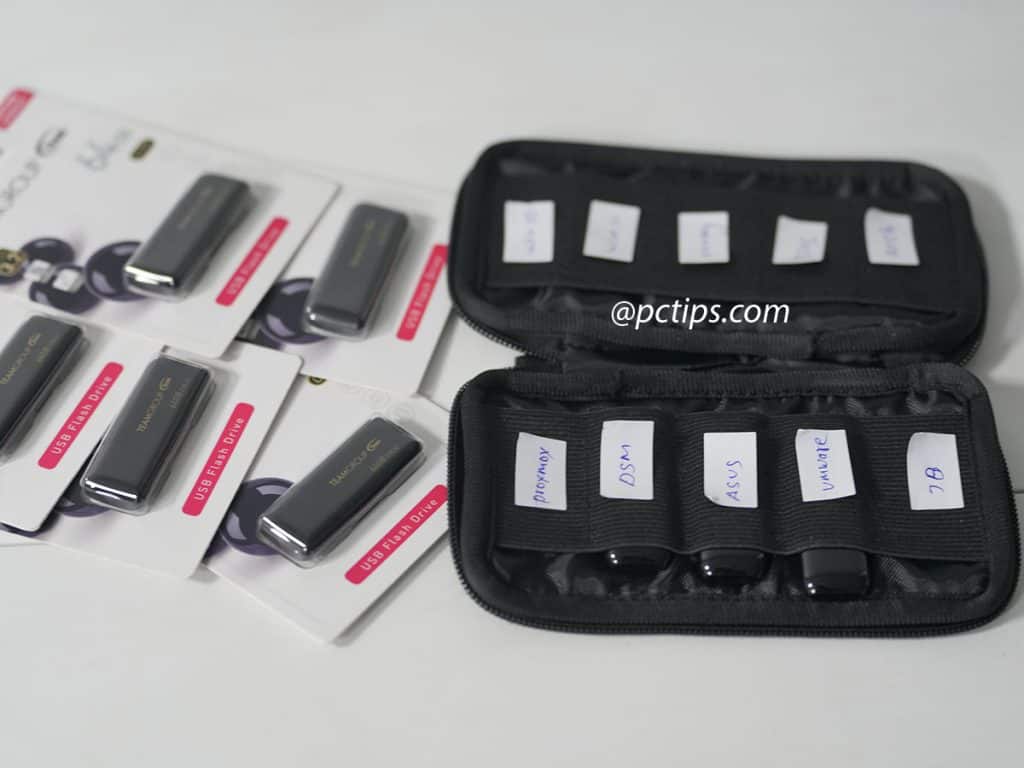
They’re cheap and I haven’t had a single issue with them.
Bonus, they come in fun colors.
Oh, and while you’re at it, do yourself a favor and get that 10-slot USB case too.
Makes organizing and labeling those drives a breeze.
If you need a larger and faster drive, take a look at these:
Before you flash the USB, BACK UP ANY EXISTING DATA YOU WANT TO KEEP!
Rufus will automatically detect and wipe your USB when it does its thing.
Alright, you’ve got Rufus downloaded and a USB drive ready to go.
Time to light this candle.
Navigating the Rufus User Interface
Rufus packs a lot of functionality into a tight UI.
Luckily, it’s pretty straightforward once you know what’s what.
I’ll break down the key parts:
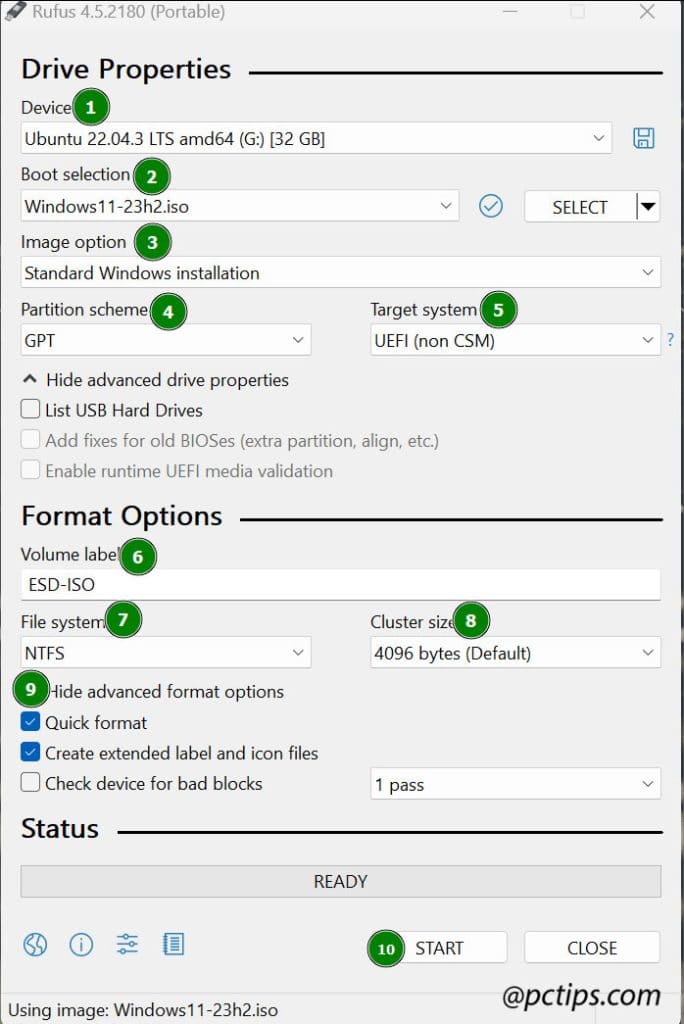
- Device – This is where you select your USB drive. Rufus will automatically detect it, but double check it’s selected before proceeding.
- Boot selection – Choose if you want to make the USB bootable or not. Select your ISO here.
- Image option – For certain image types, you can specify additional options here, such as whether to create a Windows To Go drive.
- Partition scheme – Choose MBR or GPT (use GPT for UEFI). If you’re not sure, stick with the default selected by Rufus.
- Target system – Select BIOS (or UEFI-CSM) or UEFI depending on the boot mode of your target system. When in doubt, Google your motherboard model to see if it supports UEFI.
- Volume label – Optional label for the USB drive (will be overwritten by ISO label if it has one).
- File system – Select the file system for the USB (FAT32 unless you have a specific need for NTFS).
- Cluster size – Leave on default unless you know what you’re doing.
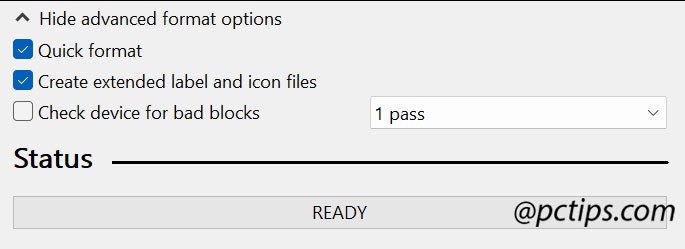
- Hide/Show advanced format options – Access advanced options like Quick Format, Create extended label and icon files, and more.
- START button – Click this to begin the USB creation process. Make sure you’ve backed up any data you need from the USB first!
The “advanced” options revealed by that little cog icon are super handy too.
I usually check “List USB Hard Drives” so I can use Rufus with external SSDs/HDDs.

There’s also quick format and bad block scanning options in there.
Bonus protip: you can hover your mouse over most of the options to see tooltips explaining what they do.
A few other things to note about the UI:
- Rufus provides full localization support with 38 languages to choose from. ¿Hablas español? Rufus does.
- If you get stuck, click that “Log” button in the lower left. The Rufus log is crazy detailed and can help pinpoint where things went sideways.
Where to Find Official ISOs
Before you start flashing, you need an ISO.
Rufus works with tons of ISOs, including all flavors of Windows, mainstream Linux distros, and more.
It’s critical you source your ISOs from official websites/mirrors to avoid any funny business.
Here are some go-to spots:
- Windows 10/11 ISOs from Microsoft
- Arch Linux ISO downloads
- Ubuntu Linux ISO downloads
- Fedora Linux ISO downloads
- Linux Mint SO downloads
You can also use the nifty download feature built right into Rufus.
Just click the “download” button and select the ISO type you want.

Rufus will grab the latest official ISO and verify the checksum to ensure it’s legit.
Speaking of checksums, always verify your downloaded ISOs before flashing them.
Rufus has a handy tool for that too:
- Open your ISO in Rufus
- Click the “check” button next to the SELECT button
Using certutil (built into Windows):
- Find the officially published SHA-1 or SHA-256 checksum for the ISO (usually on the download page)
- Open a command prompt in the folder with your ISO
- Run one of these commands: For SHA-256:
certutil -hashfile your_iso.iso SHA256
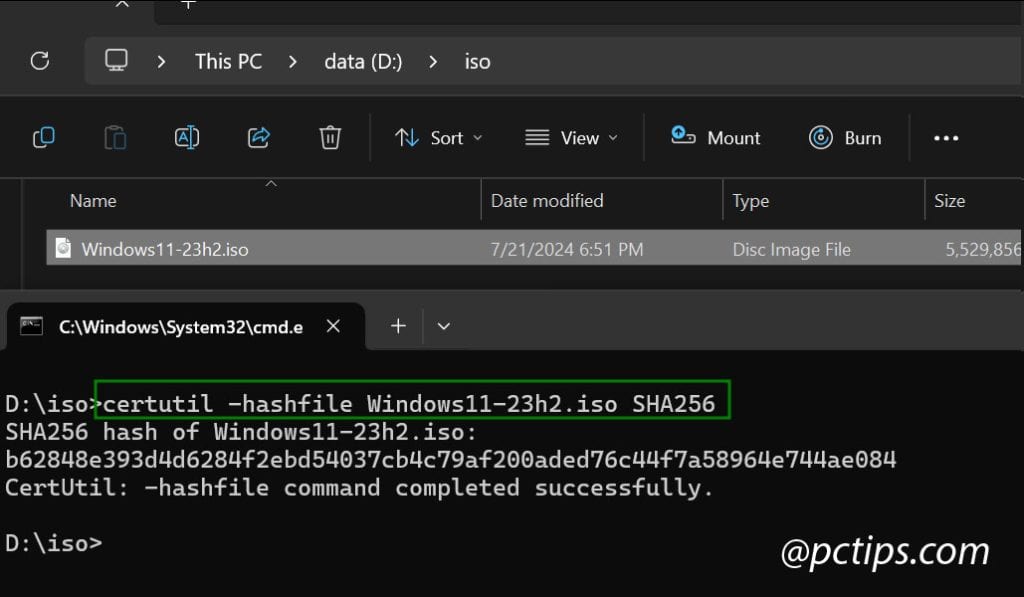
- Replace SHA256 with SHA1 or MD6 to check those hash values as well.
Compare the checksum output to the one you found in step 1
If the checksums match, you’re good to go.
If not, your ISO may be corrupted or tampered with.
Delete it and try downloading again.
Personally, I prefer using certutil to check checksums since it’s a built-in Windows utility and doesn’t require any additional software.
Plus, it’s a good habit to use command line tools for tasks like this.
Using Rufus to Create a Bootable USB
Now for the main event.
Let’s flash an ISO to that USB.
We’ll use Windows 11 as an example, but the process is nearly the same for other ISOs.
- Download the official Windows 11 ISO from Microsoft’s website (or use the handy download feature in Rufus).
- Fire up Rufus and ensure your USB drive is selected under “Device.”
- Under “Boot selection,” choose the Windows 11 ISO you just downloaded.
- Rufus will automatically adjust the Partition scheme and Target system for you. Double check it selected GPT and UEFI (non-CSM) for Windows 11.
- Leave the other settings on their defaults unless you have a specific need to change them.
- Take a deep breath and click START.
- After clicking START, you’ll see a new “Windows User Experience” section appear. This is where you can customize the Windows 11 installer to your liking. Here are the options I recommend checking:
- Remove the requirement for an online Microsoft account (lets you use a local account instead)
- Disable data collection and telemetry
- Skip the TPM check
- Disable Secure Boot requirement
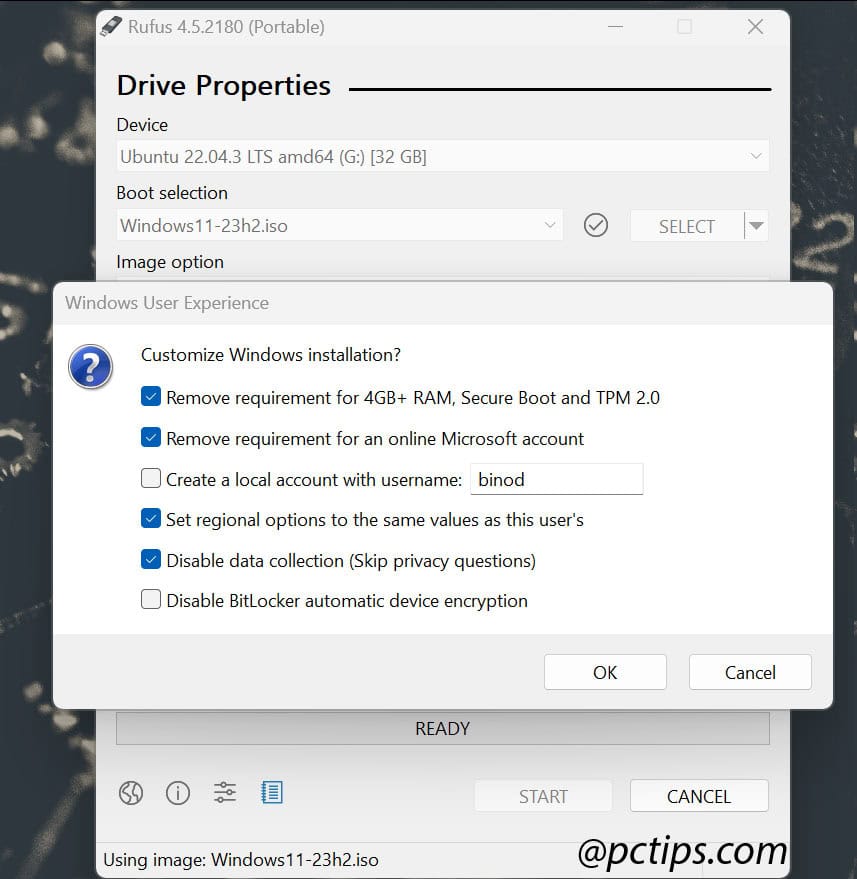
- Once you’ve made your selections (or decided to leave the defaults), click OK to begin the USB creation process. Rufus will warn you about data on the USB device being destroyed. (Click OK)
- Rufus will do its thing, showing you the progress along the way.
The process is similar for Linux ISOs.
Just grab your favorite flavor of Linux, select it in Rufus, and go.
Rufus will handle the partition scheme and boot mode stuff for you.
Also Read: 12 USB Boot Drives EVERYONE Should Make
Booting from Your USB Drive
Alright, you’ve got a shiny new bootable USB.
Time to take it for a spin:
- Plug the USB into your target machine.
- Power on the machine and mash the boot menu key (usually F12, F9, F8, or DEL – varies by motherboard).

- If you don’t see the boot menu, try hitting the key to enter the BIOS setup menu instead.
- Once in the BIOS/UEFI setup menu, look for the boot options screen.
- Find your USB drive in the list of boot devices. It’ll usually be labeled “UEFI: <your USB drive name>” or “USB: <your USB drive name>.”
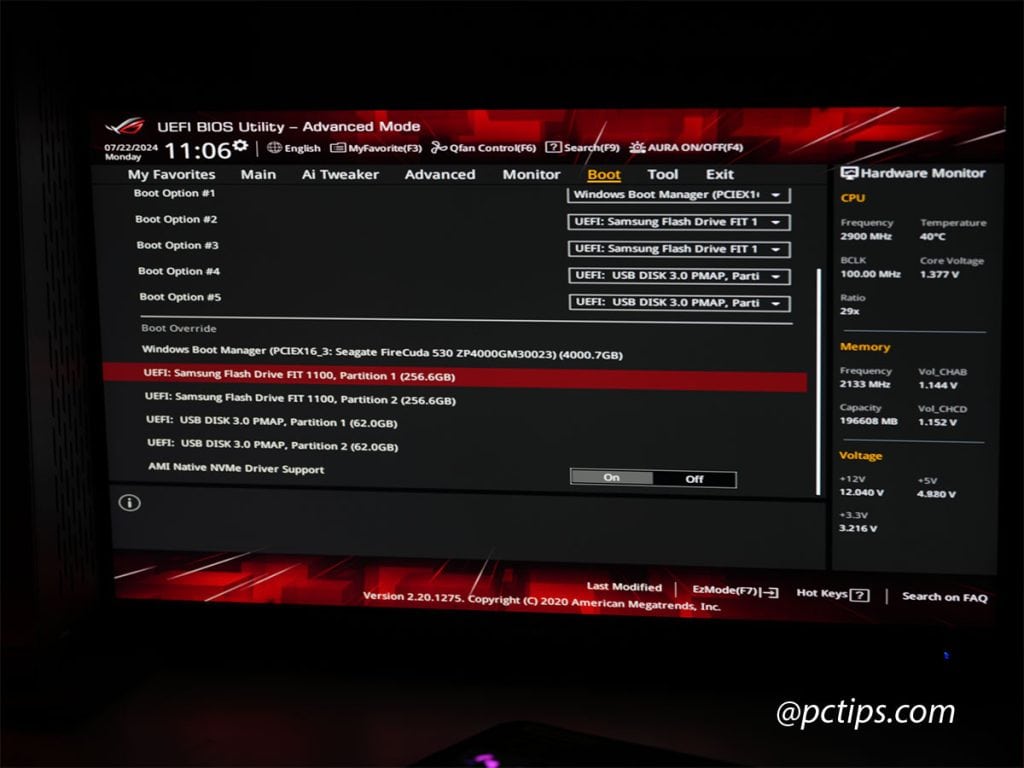
- Move your USB drive to the top of the boot order list. This ensures your machine will boot from USB before it tries the hard drives.
- Save your changes and exit. Your machine should reboot.
- If all goes well, you’ll see the Rufus boot screen followed by the installer for your OS of choice. If not, the machine will likely boot to whatever OS is installed on the hard drive (if there is one).
Some older machines are a bit finicky about booting from USB.
You can also try re-flashing the USB with Rufus using different options like MBR partition scheme or BIOS/CSM mode.
You might also like: 20 Genius Ways to Use a USB Drive Like a Pro
Installing Your OS
Alright, you’re booted up and ready to install.
The process will differ a bit depending on whether you’re installing Windows, Linux, or another OS.
But in general, you’ll follow these steps:
- Select your language and keyboard layout.
- Choose whether to install the OS or try it out first (if using a live Linux distro).
- Accept the EULA (end user license agreement).
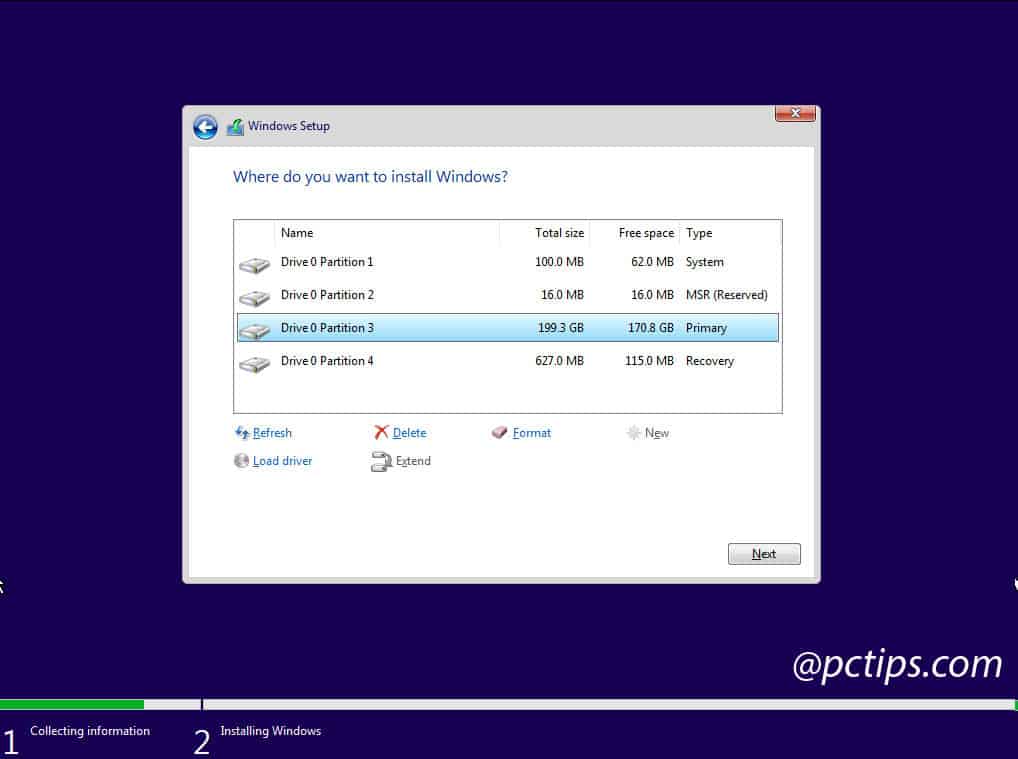
- Select the drive and partition where you want to install the OS. Be careful here – if you choose the wrong drive, you could overwrite data!
- Let the installer do its thing. Go grab a coffee, this might take a while.
- Once the installation is complete, the machine will reboot. If prompted, remove the USB drive.
- Follow the prompts to set up your user account, privacy settings, and other preferences.
- Start customizing your new system!
For specific step-by-step instructions, consult the installation guide for your OS of choice.
Advanced Tips and Tricks
By now you’ve seen how easy it is to create a bootable USB with Rufus.
But there’s more under the hood for power users to play with:
- Use the Alt-KEY cheatcodes to modify Rufus on the fly – see https://github.com/pbatard/rufus/wiki/Usage-Notes#Power_keys
- Name your USB device to UEFI_NTFS so Rufus pre-selects the UEFI:NTFS mode
- Alt-C will cycle (reset) the selected USB device
- Alt-D delete the Rufus settings in the registry
- Alt-F toggles USB fixed-disk drive detection
- Alt-I toggles ISO image support
- Alt-L forces Large FAT32 (FAT32 for drives over 32GB)
- Alt-M makes Rufus treat any selected image as bootable even if ISN’T bootable
- Alt-Z completely erases a USB drive (every single sector)
For advanced users, Rufus also supports booting from VHD/VHDX.
You can even create a blank UEFI:NTFS bootable drive and manually add your own boot files. The possibilities are endless!
Here are a few advanced tips to take your Rufus skills to the next level:
- With Rufus, you can install a fully functional copy of Windows onto a USB drive and take it with you wherever you go. Just select the Windows To Go option under Image Choice and pick your ISO.
- If the ISO file is larger than 4 GB, you’ll need to use NTFS instead of FAT32 for UEFI:NTFS. Rufus supports this using a unique NTFS implementation.
- For the fastest USB speeds, use a high-quality, high-speed USB 3.x drive and plug it directly into a USB 3.x port (avoid hubs).
- Enabling “Check device for bad blocks” can reveal flash drive issues, but will significantly increase format time.
- The “List USB Hard Drives” option can be handy to format USB HDDs, but be VERY careful not to accidentally format the wrong drive!
- Rufus automatically downloads the latest GRUB and Syslinux files it needs to make bootable drives. You can see details in the log.
Remember, with advanced functionality comes the responsibility to double-check your actions.
But don’t be afraid to experiment!
You can always re-format a drive and start over.
Rufus vs Other Tools
Rufus isn’t the only bootable USB creation tool out there. Some other popular options include:
- Etcher: A cross-platform tool with a slick UI. It’s dead simple to use but lacks some of Rufus’ advanced features.
- UNetbootin: Another cross-platform option that’s been around for a while. It has a larger selection of built-in distros but doesn’t support Windows ISOs.
- Win32 Disk Imager: A bare-bones Windows tool for flashing IMG files to USB drives. It gets the job done but has a spartan interface.
- Windows Media Creation tool: Microsoft’s own tool for creating bootable Windows installers. It’s very straightforward but only works with Windows ISOs.
Further Reading
If you can’t tell by now, I’m a big Rufus fan.
It’s earned a permanent spot in my utilities hall of fame, right alongside Revo Uninstaller, Wiztree and Ventoy.
For anyone who might need to make a bootable USB drive (and that’s pretty much everyone), Rufus is hands-down the best tool for the job.
It’s fast, flexible, and 100% free.
I hope this guide has shown you why Rufus is an essential part of any tech toolkit.
If you found this guide helpful, why not bookmark it for future reference?
And hey, spread the love – share it on your social media…
While you’re here, check out some of our other popular articles: